I thought I’d do a little peek into the process for working on The Source, using the short teaser I gave yesterday.
Here’s the OG post in case you missed it:
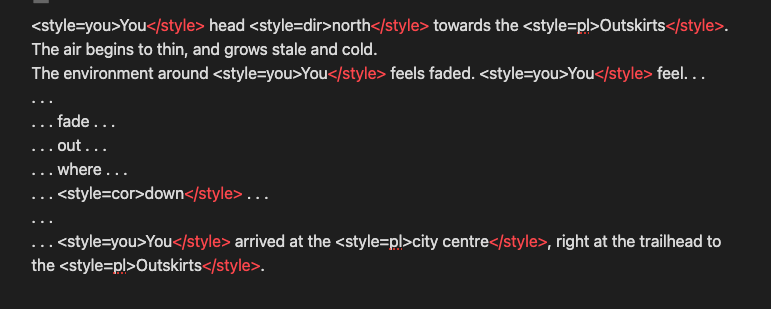
The first step, of course, is writing. Most areas in the game require quite a lot of lines, but the unique nature of The Outskirts means that it only has one set of lines, as opposed to many other areas which have at least 5 times as many lines. All of my writing I do in an application called Obsidian.

After the dialogue is written, I then go through and add the colour tags to it. This is what gives individual words in dialogue their own colour. The nice part of how this works in Unity is I can have a style tag in dialogue, but I can then change what that tag means for all of the uses of that, so if I want to adjust the colours, I can very easily.
The next step is to implement the dialogue and the majority of the logic through an actionlist. Actionlists are the visual scripting tool for a Unity asset called Adventure Creator, which is really great for making adventure games like this. Basically, this actionlist is applying the correct visual effects, playing the dialog lines, and then turning off the visual effects after the dialog is over.
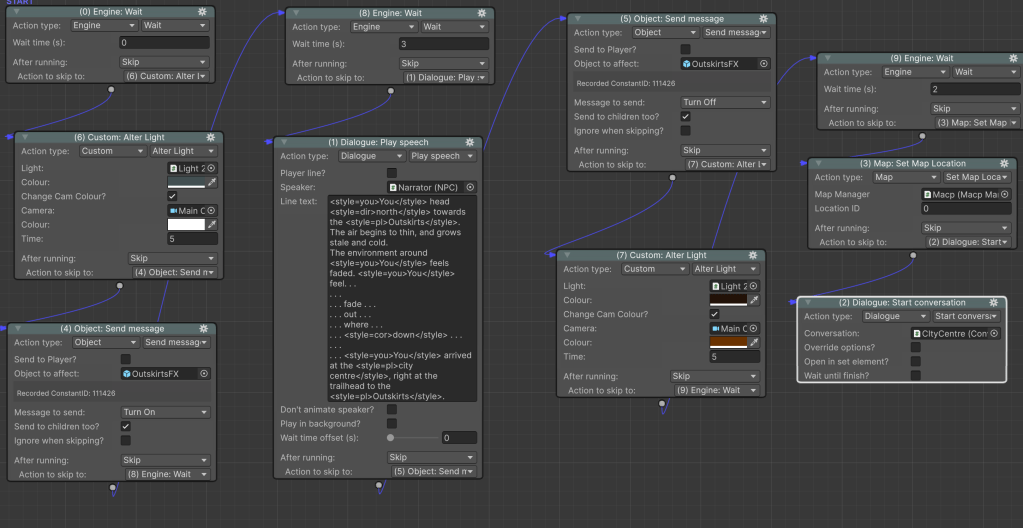
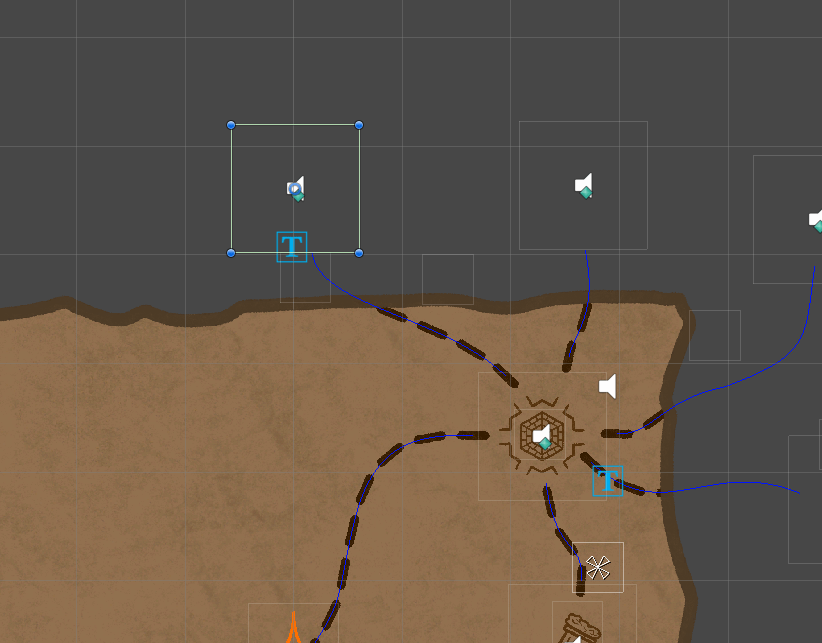
After the logic is in place, I then attach the actionlist to the correct map option, which is how the game knows what to do when you click the icons on the map.

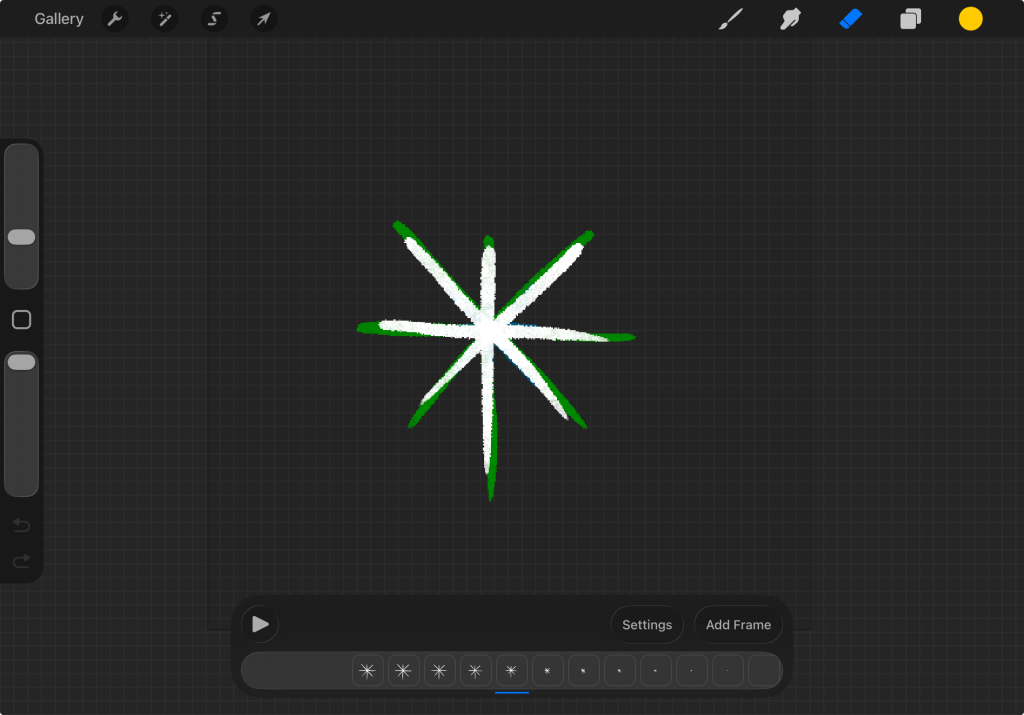
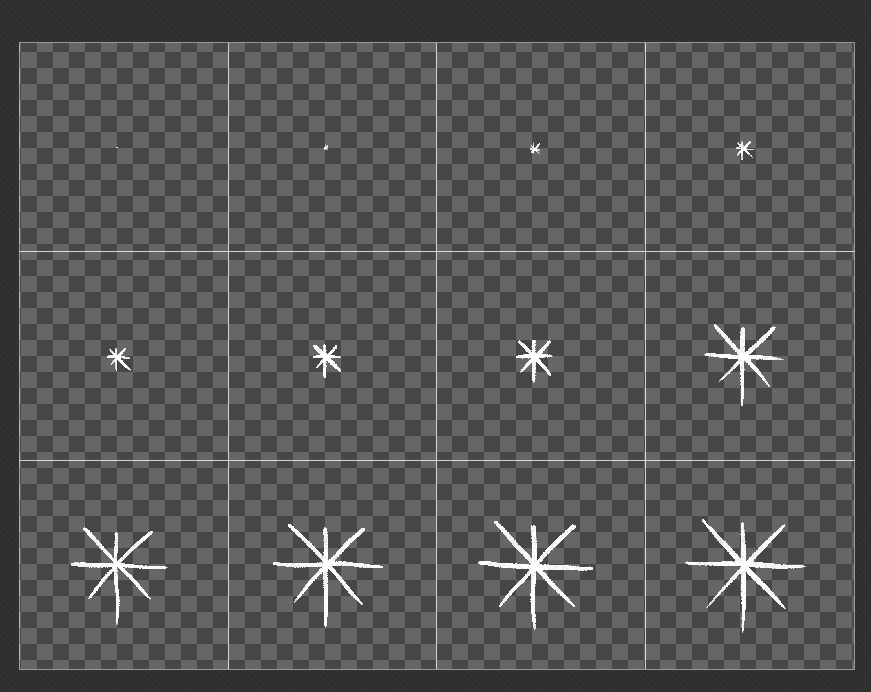
For the snowflake particles I first started by making the animtions in Procreate, a drawing app for iPad. For simple animations like these, I start with the full drawing, and then just do straight ahead animation to make it smaller, then tweak the animation to get the timing I want. I then exported each frame to my computer, and bundled them together as a sprite sheet for each snowflake. In Unity, I can take this sprite sheet and use it as an animated texture for particles, and then I can tweak how I want them to appear and move.


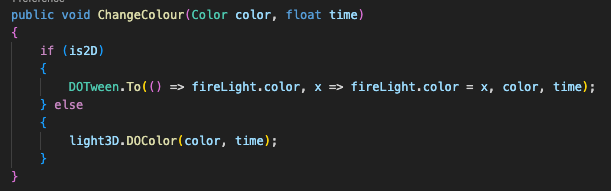
Another key part of this effect was the colour change for the background. This was something I luckily had already pretty much built into The Source early on, but for an entirely different reason. A subtle effect with the background you may notice is that it dims and brightens slightly over time, to create a kind of candle flicker effect. The way this is achieved is with 2D lighting, where the light dims and brightens at a fixed rate. In the backend, this means that the background image is actually white, and the colour of the background comes from the colour of the light.

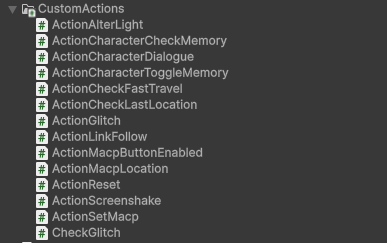
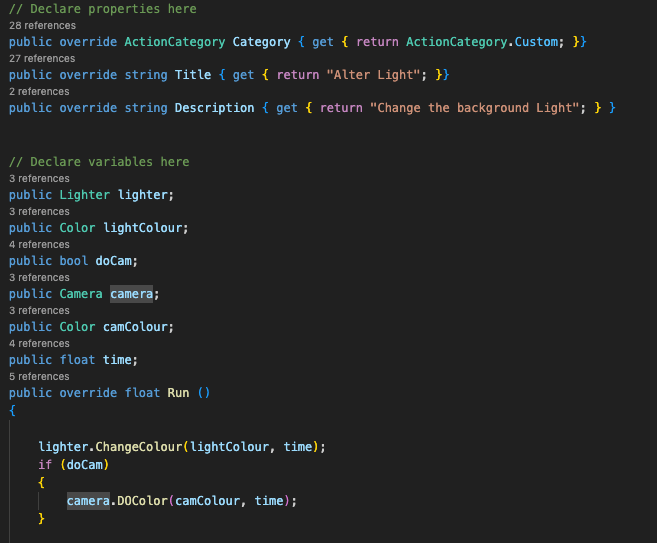
This lets me change the colour of the background whenever I want, which is really useful. However, in order to get this to work I had to build a custom action into Adventure Creator to change the colour in actionlists. I actually have quite a few custom actions that I’ve written over time to help me out with various functions for the game.
The basic way this particular action works is it takes in the light I want to change the colour of, the new colour, and how long I want the transition to take. It also has the option to change the camera background colour, which is necessary because the background texture has transparency, which is how the game gets that parchment background look. The action takes those values in, and when it’s run it tweens the light and background colour to match the new colours I have in mind.
All of this goes together to create this whole sequence. The process to do this probably was 2-3 hours max, but the nice part about it is now I have new tools and assets I can use elsewhere.
I hope this was interesting for you guys to read! Let me know if you want to see more behind the scenes breakdowns like this again.

Leave a comment